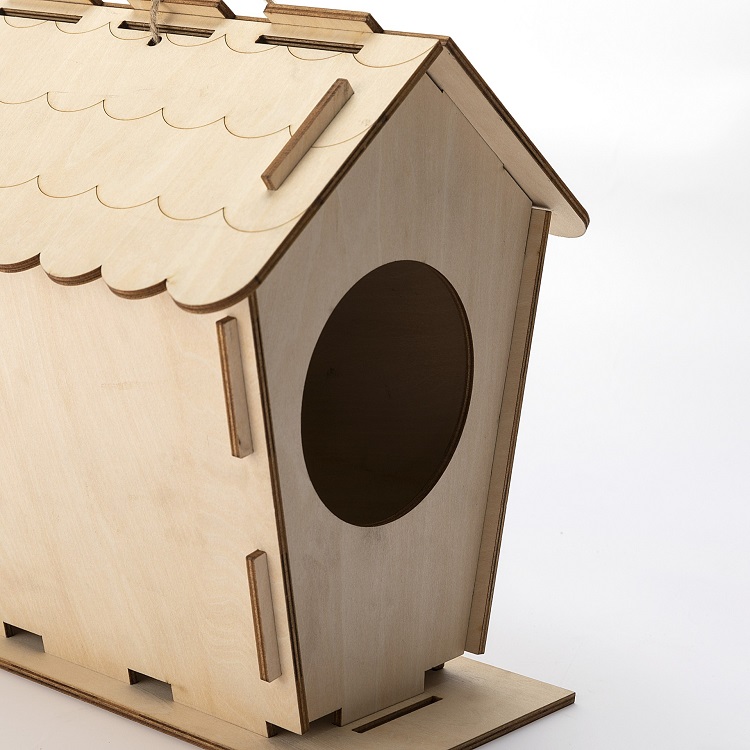
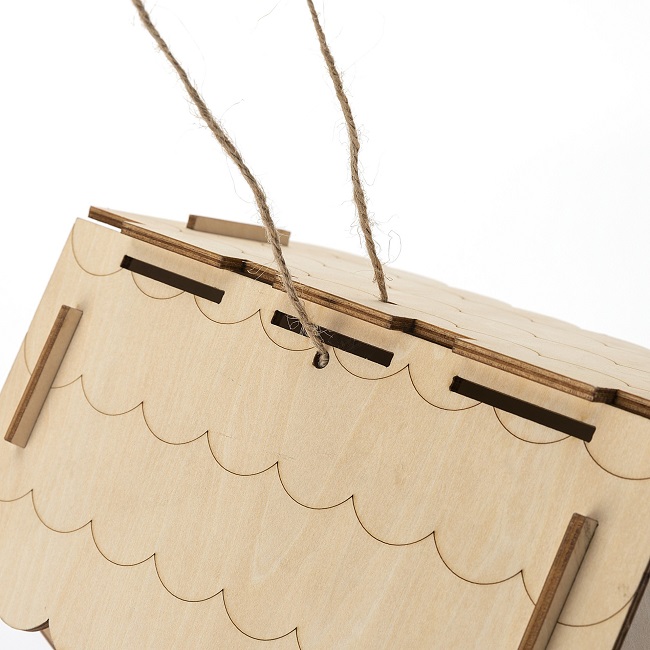
Want to make your 3D wooden puzzles stand out and look awesome? Adding some cool lighting effects can do the trick! It’s not as hard as you might think.

Methods
Here’s how you can light up your 3D wooden puzzles:
Get Your Stuff Together
Before you start, make sure you’ve got everything you need:
Your finished 3D wooden puzzle
Some LED string lights or tiny LED bulbs
Batteries or something to power those lights
A small screwdriver
Sticky putty or glue
A craft knife
Clear tape
A little pair of wire clippers (if you need them)
Dream Up Your Lighting Plan
First off, figure out where you want those lights to shine in your 3D wooden puzzle. Think about what parts you want to show off. You might have to carve out little spots in the wood to hide the wires and bulbs.
Get Your Puzzle Ready
Gently take apart the sections of your 3D wooden puzzle that need lighting. Use the craft knife to make neat cuts or holes for your lights. Make sure the holes are big enough for the LED bulbs but not so big that your puzzle falls apart.
Stick in the LED lights
Pop those LED bulbs or string lights into the holes you made in Step 3. Be careful, so don’t wreck the wires or the wood. If needed, use some sticky putty or glue to keep the lights in place.
Hide wires and batteries
Tuck the wires away inside the puzzle. You might need to make little pathways for the wires to go through, so they’re not seen from the outside.
If your LED lights need batteries, find a good spot inside the puzzle for the battery pack. Make sure it’s easy to get to when you need to swap out the batteries.
Test the lights
Before you put your puzzle back together, give the lights a test run to make sure everything’s working right. Connect the LED lights to the power source (like the batteries) and check if they light up where you want them to.
Put the puzzle back together
Now, carefully put the puzzle pieces back together. Watch out for those wires and lights. Don’t mess them up! Make sure all the pieces fit together nicely.
Keep Those Wires in Check
Use clear tape to stick the wires along the inside of the puzzle, so they stay hidden and tidy. Be careful not to block the light’s path, or it won’t shine.
Final Touches
Once you’re happy with how everything looks, make any last adjustments to make sure the wires and bulbs are hidden. Check that the puzzle pieces fit snugly and that the lighting makes it look even cooler.
Show Off Your Lit-Up 3D Wooden Puzzle
With the lights shining brightly in your 3D wooden puzzle, it’s time to show it off! Whether you put it on display at home, give it as a super unique gift, or just admire it yourself, your lit-up 3D wooden puzzle is going to amaze everyone who sees it.

Conclusion
Adding lights to your 3D wooden puzzle takes a bit of patience and some precise work, but the end result is a stunning piece of art that shows off your creativity and skills. Enjoy all the compliments on your brilliantly lit puzzle!
 Abraham